Connect through Ethernet
In order to use Ethernet connection between the PC and the drive, we need to set the Network Card in the same subnet as the drive. Remember that the drive comes by default with IP 192.168.2.22. Please find a step-by-step guide on how to configure the Network Card here: Configuring adaptor for Ethernet connection.
Before starting
This tutorial assumes that you have connected your drive to an external DC power source inside the allowed voltage range and to an Ethernet cable between your computer and Port ECAT0 (if you do not know which port is ECAT0, please refer to the Connectors Guide section of the manual of your product).
Automatic connection
Upon opening, MotionLab3 will scan the network and attempt to automatically detect your drive which makes connecting to it as simple as pressing a button.
If a drive was found, it would be displayed in the main window:
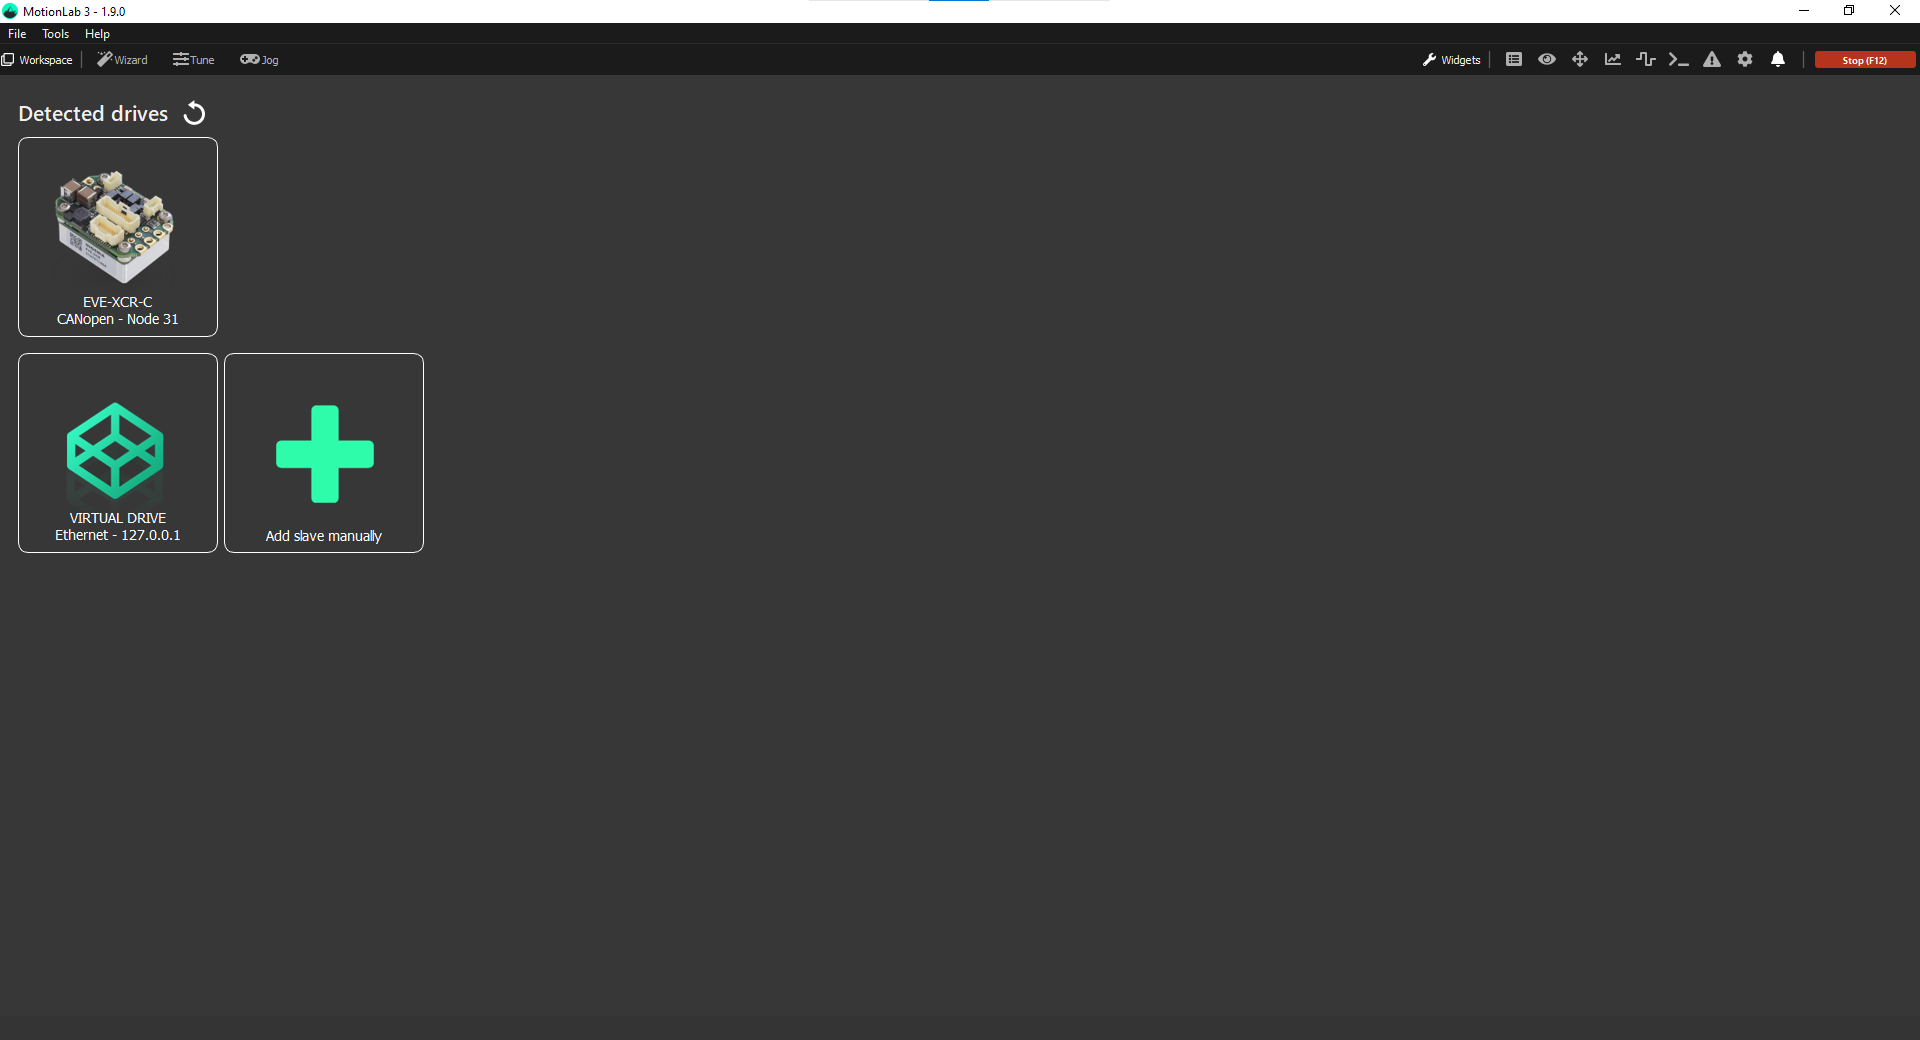
Hover the drive and press the Connect button to make the connection:
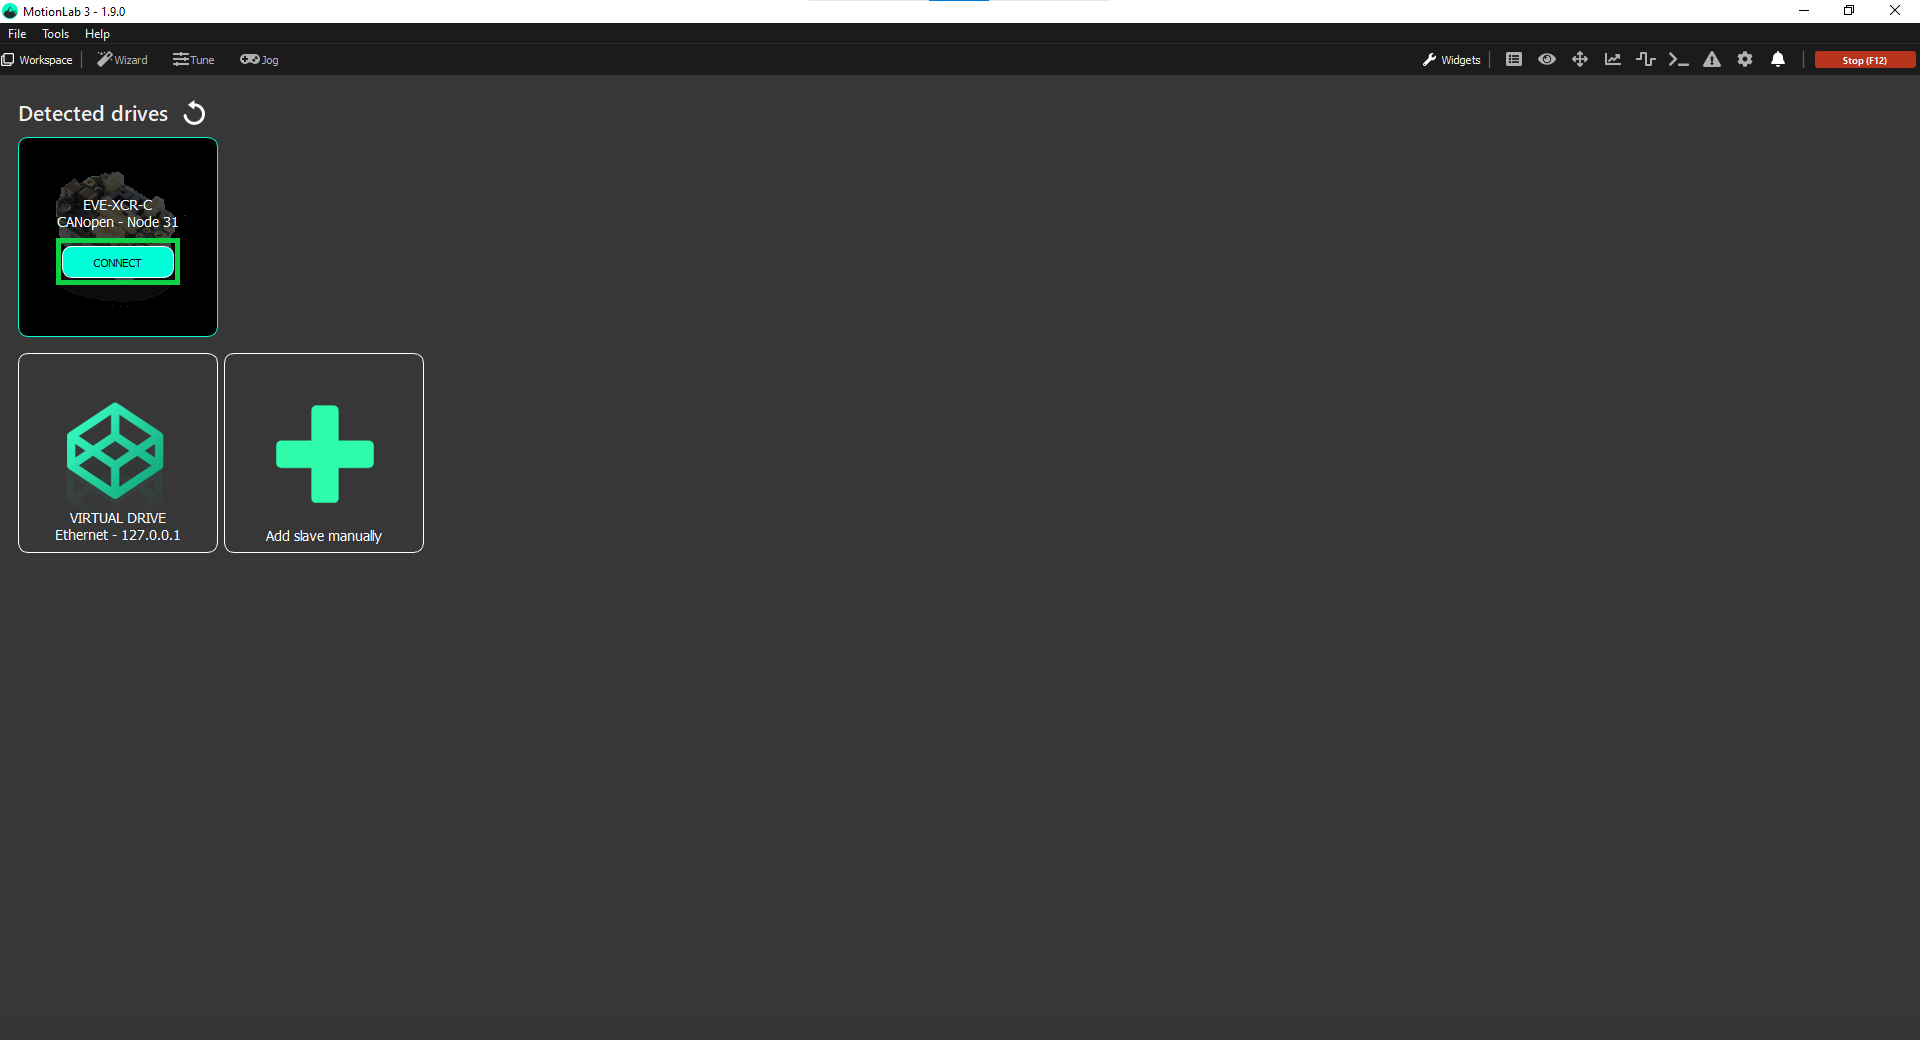
You can press the refresh button ( ) to manually trigger another network scan if the drive was connected after MotionLab3 was launched.
Manual connection
If the drive was not detected or you want to adjust the connection parameters for some other reason, you can connect to your drive manually following these steps:
Open MotionLab3 and press the Add slave manually button:
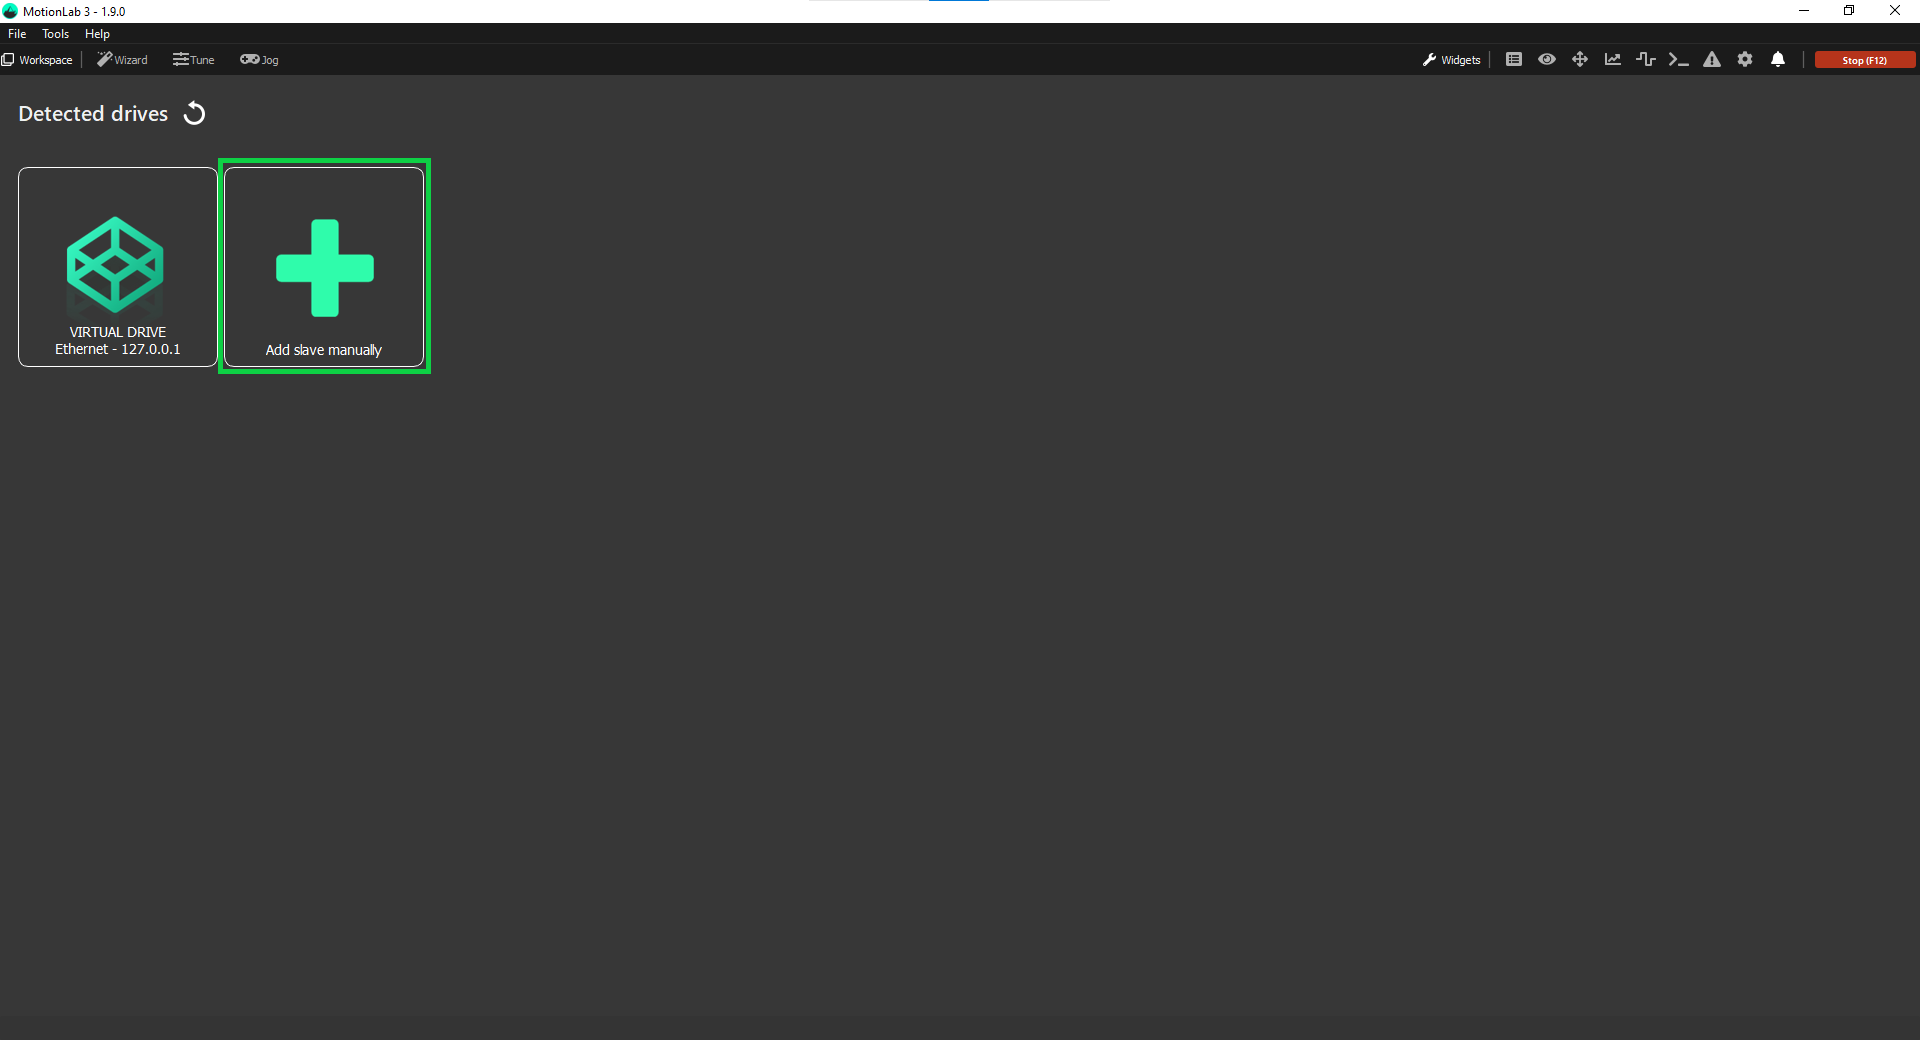
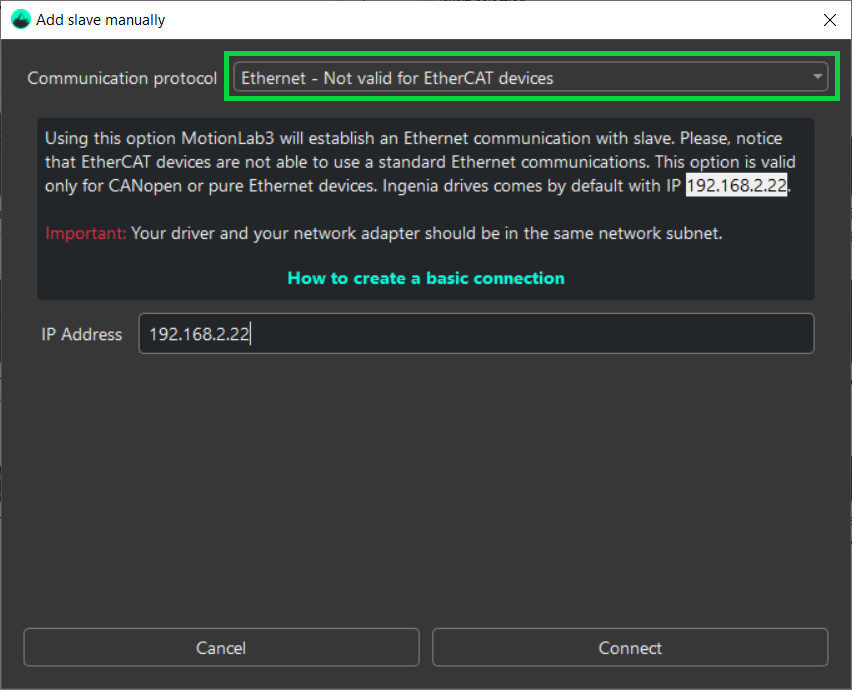
Select the communication protocol you would like to use from the dropdown (in this case Ethernet - Not valid for EtherCAT devices):
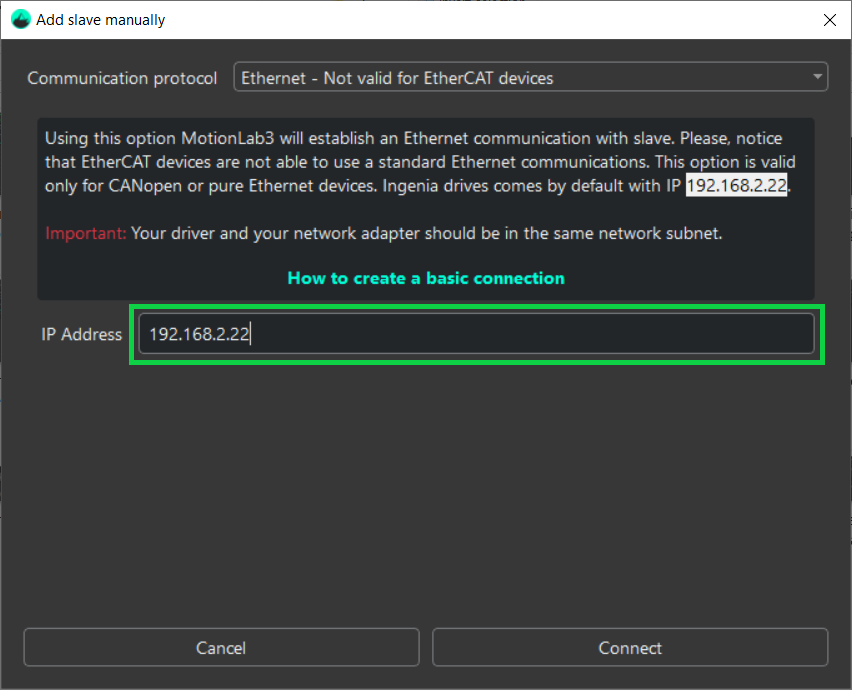
Enter the IP 192.168.2.22:
Important
Your driver and your network adapter should be in the same network subnet.
Press the Connect button:
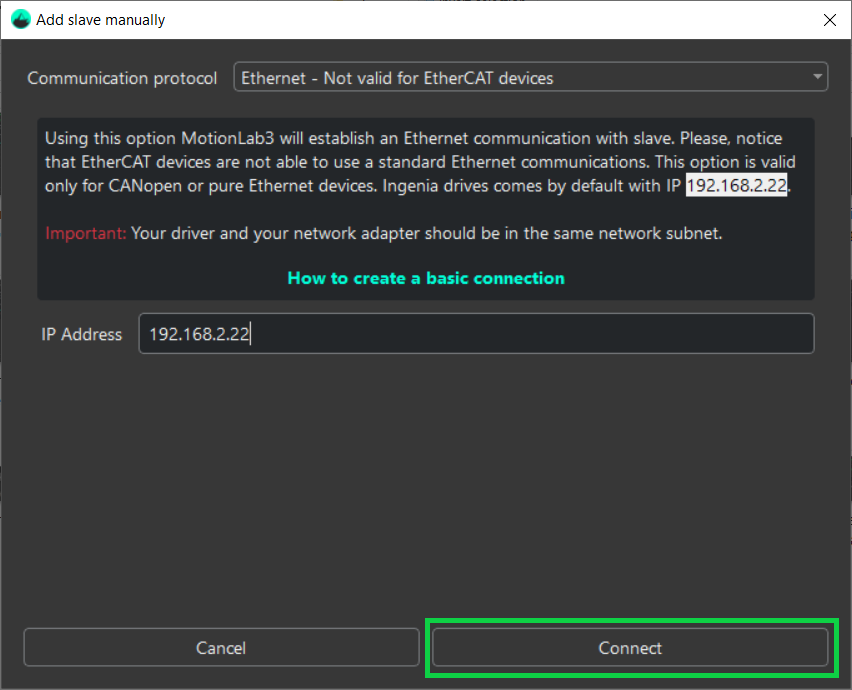
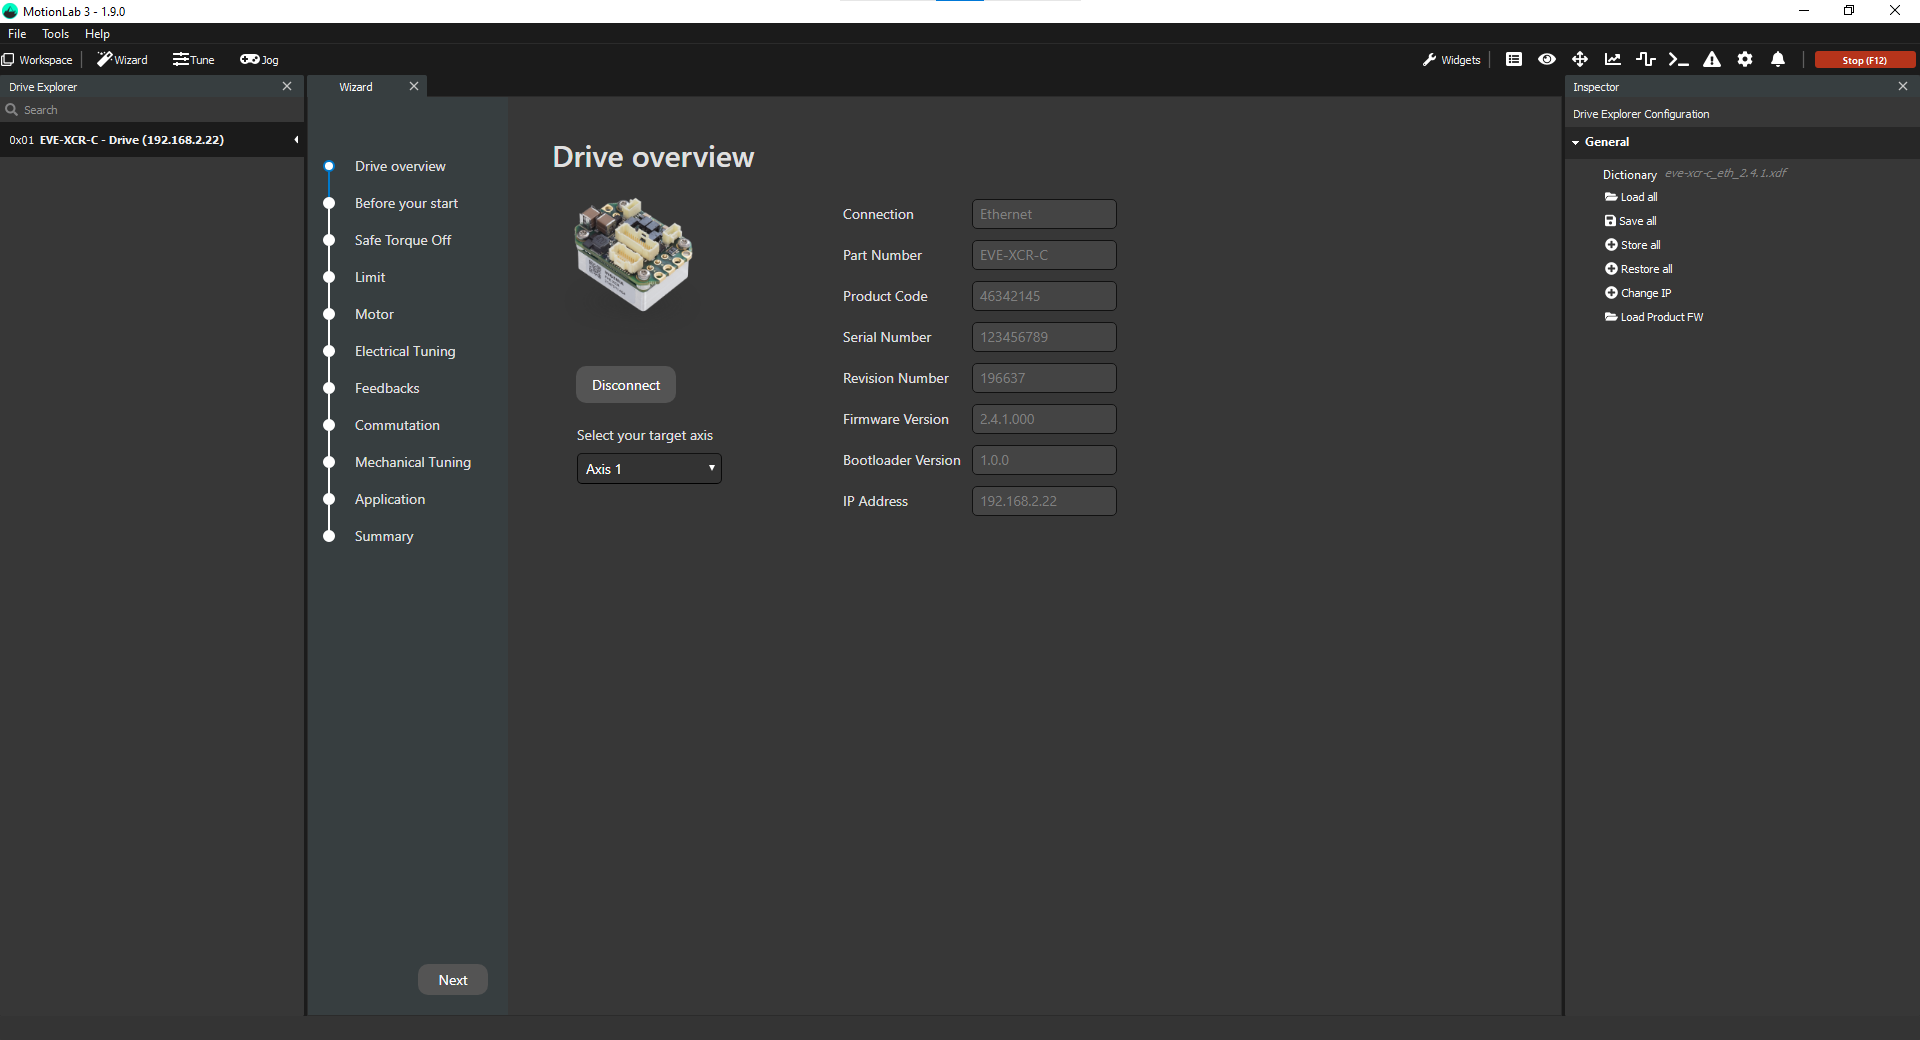
MotionLab3 will now connect you to the drive:
