Connecting TwinCAT to Novanta EtherCAT Servo Drive
Following there is a step-by-step guide of the process of connecting a TwinCAT main device with a Novanta Servo Drive:
Download (https://www.beckhoff.com/twincat/ ) and install TwinCAT3 on your computer.
Copy the appropriate ESI file (according to the firmware version that you have in your drive) in the following folder: C:\TwinCAT\3.1\Config\Io\EtherCAT.
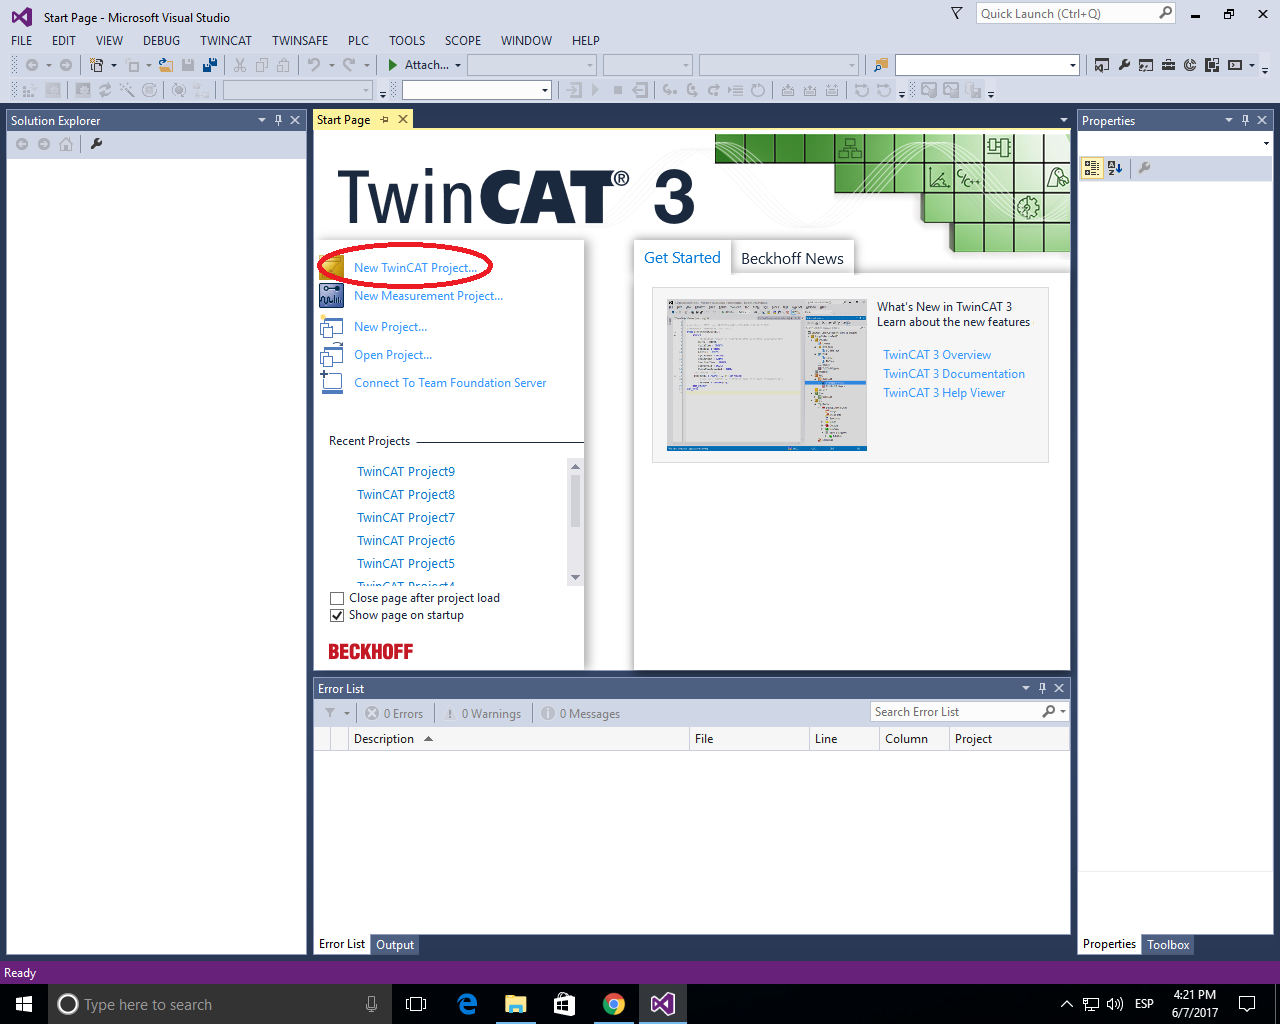
Start TwinCAT and create new project.
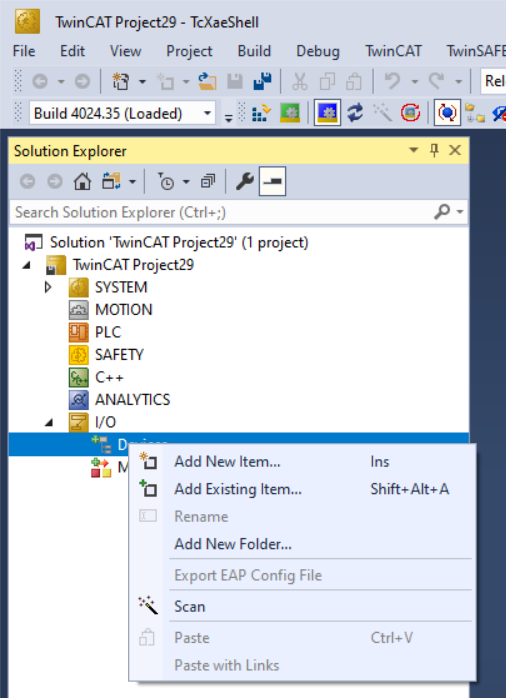
In the Solution Explorer menu, right click on I/O > Devices and press Scan Devices. This process will show all input/output communication adapters installed in the PC.
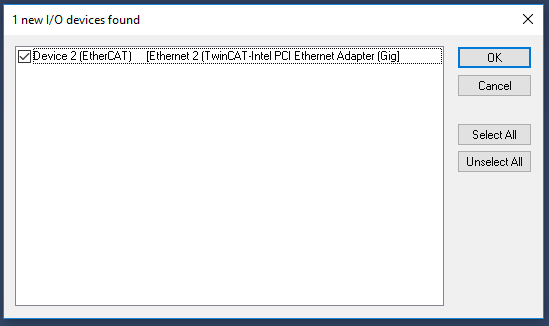
Press OK in the next window. (Pressing Cancel will stop the Scanning process and you will have to start again):

If EtherCAT driver has been successfully installed a new EtherCAT device, which corresponds to the main device, should be found. Press OK to continue. Please refer to the Troubleshooting section if this step is not successful.
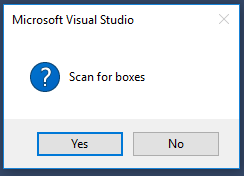
The system will ask to look for the boxes, which corresponds to the sub devices in EtherCAT communication. Press Yes in the following question.
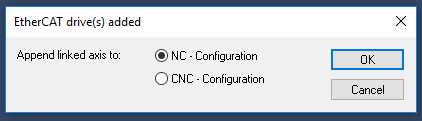
New box will ask to add the found drives to an NC-Configuration. Press yes to attach the servo drive to an NC-Task. Please note that this step might not be necessary for your drive.
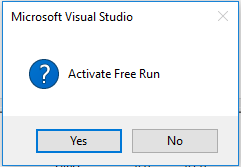
Finally, TwinCAT will ask to activate the Free Run communication, which is a low update rate communication method.
Press Yes in the following question if you are continuing with TwinCAT operation only.
Press No if you want to configure the drive through MotionLab3 via EoE.
If you want to connect to MotionLab3, Free run must be deactivated in TwinCAT. Otherwise, it will result in either of the following issues:
Inability to connect to MotionLab3 altogether
Disconnections when command is sent from MotionLab3 to the drive
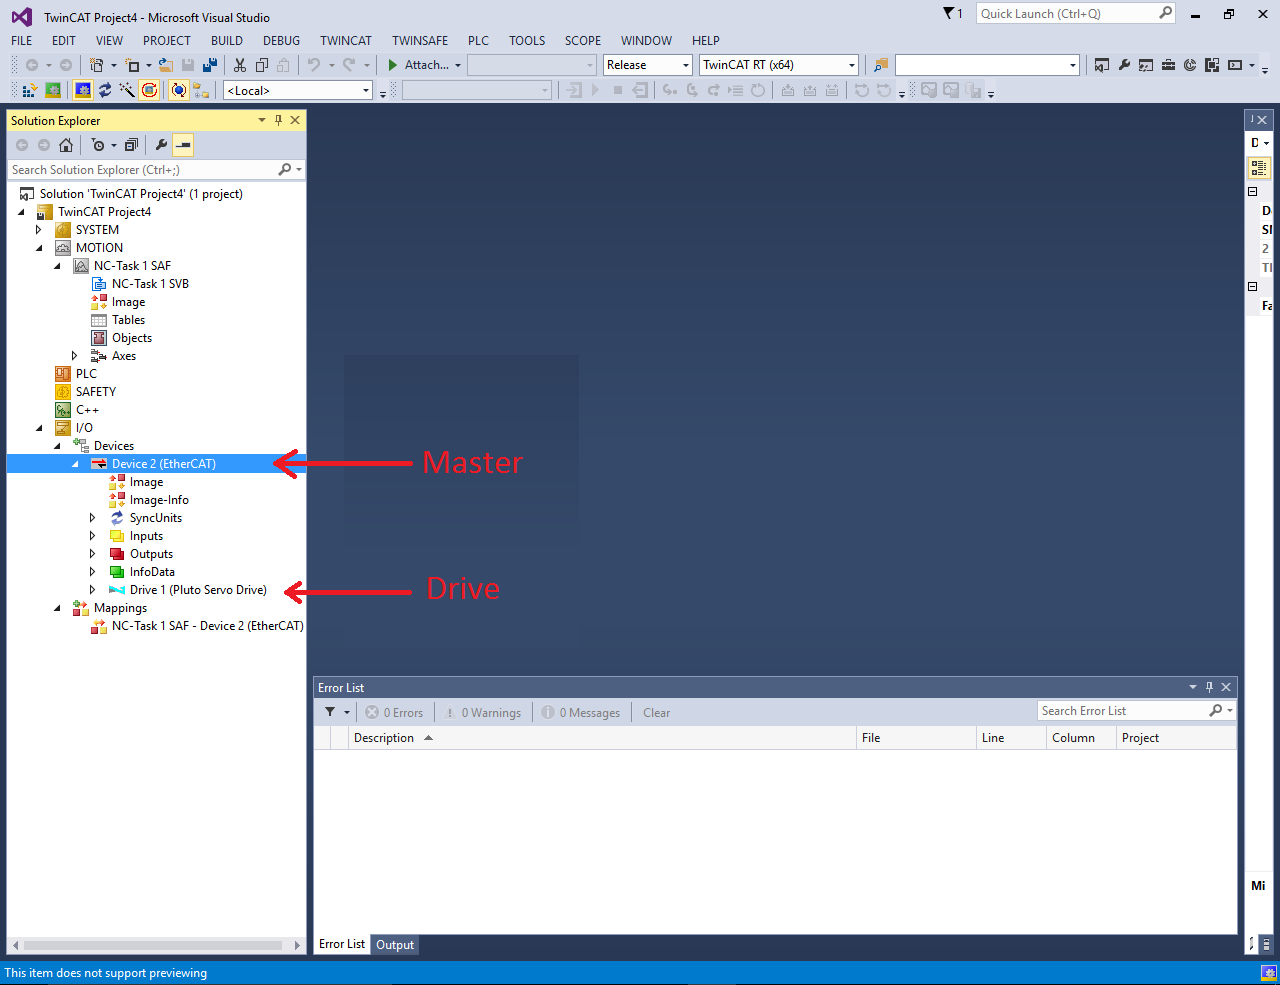
The following structure will appear upon successful connection of the servo drive to TwinCAT:
Troubleshooting:
I cannot find my EtherCAT device in TwinCAT when scanning for devices.
If you fail in the previous step to scan the drive correctly, make sure to check that you have the installed the Ethernet device that you are using by doing the following procedure:
Click on TWINCAT --> Show Realtime Ethernet Compatible Devices.
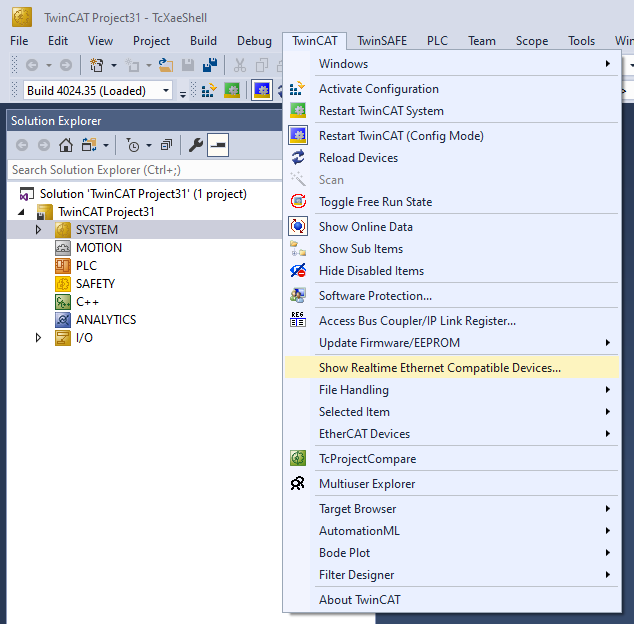
This will open a new window with the currently installed devices and compatible/incompatible devices.
If your device is found in the "incompatible devices" section, click on it and click on the button "Install".
If your decide is found in the “compatible device” section, click on it and click on the button “Disable” followed by “Enable”.
This will take a little bit of time but once it is finished the device should now appear in the "installed and ready to use devices" section.
Restart your PC.
After this, you should be able to scan the drives without a problem following the steps above.
TwinCAT shows BOX instead of drive.
This means that the ESI file saved in C:\TwinCAT\3.1\Config\Io\EtherCAT is not the correct one.
Double check that the ESI file is for the correct product (Keep in mind that EVE and EVS are different products and have different files).
Double check that you have the correct firmware version. This can be done by checking that the numbers after BOX (in hexadecimal) match the ProductCode and RevisionNo in the ESI file (in decimal). The two pictures presented below show matching numbers:

From TwinCAT

From ESI file
Please note that TwinCAT takes the required files on startup. If you add the ESI file to the appropriate folder after starting TwinCAT, this will not be read. You must close and open TwinCAT again.